Embarking on the journey of building robust and scalable IoT solutions often leads to a crucial question: how do you manage and secure your devices effectively? The answer increasingly points towards leveraging a Virtual Private Cloud (VPC) with the versatile Raspberry Pi for IoT applications. This powerful combination allows innovators, from the kitchen table tinkerer to large industries, to create secure, high-performance, and cost-effective connected systems that can scale to meet diverse needs.
The Raspberry Pi, a tiny yet incredibly powerful computer, has revolutionized accessibility in computing, making it affordable for everybody to learn programming through fun, practical projects. When paired with the architectural benefits of a VPC, it transforms into an even more formidable tool for developing secure, private, and resilient Internet of Things deployments. This comprehensive guide will walk you through the essential concepts and practical steps to implement a secure Raspberry Pi VPC IoT tutorial, empowering you to build the next generation of smart solutions.
Understanding the Raspberry Pi: A Versatile IoT Platform
The Raspberry Pi has emerged as a cornerstone for innovation, offering cost-effective, high-performance computing for businesses and the home. Designed and manufactured with accessibility in mind, this compact device has found its way into millions of hands, serving diverse purposes from foundational programming education to fully fledged desktop PCs. Whatever your application and whatever your scale, the Raspberry Pi offers unparalleled flexibility.
- Bella Poarch Porn
- Aditi Mistry Sex Video
- Anjali Arora Mms
- Subhashree Sahu Mms
- Dr Gustavo Quiros Licona Facebook
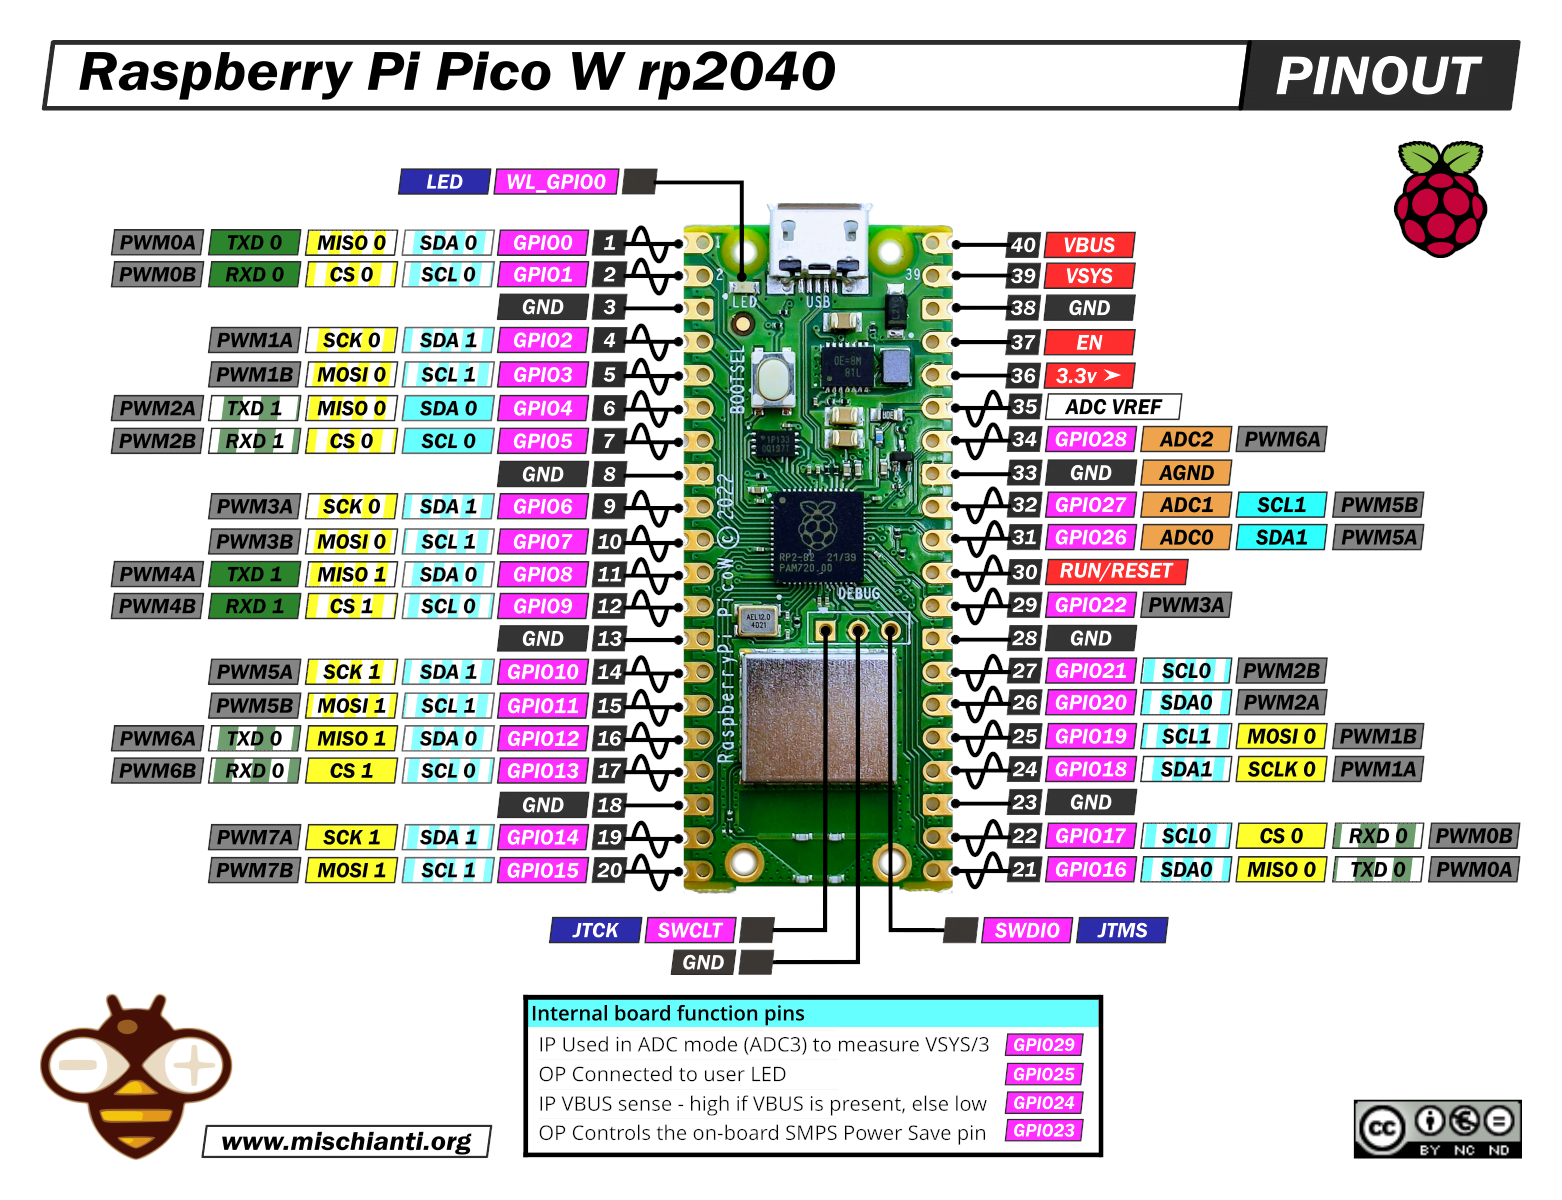
At its core, the Raspberry Pi is a very cheap computer that runs Linux, making it incredibly adaptable for various software projects. Beyond its general computing capabilities, a key feature that makes it ideal for IoT is its set of GPIO (General Purpose Input/Output) pins. These pins allow you to control electronic components directly, enabling physical interaction with the real world – a fundamental requirement for most IoT applications. Whether it's reading sensor data, controlling motors, or blinking LEDs, the GPIO pins bridge the gap between software and hardware.
The Raspberry Pi ecosystem is further strengthened by its robust software offerings. Raspberry Pi OS (previously called Raspbian) is the official supported operating system, providing a stable and user-friendly environment. Installing it is a breeze with Raspberry Pi Imager, the quick and easy way to install Raspberry Pi OS and other operating systems to your SD card. This ease of setup, combined with a vibrant global Raspberry Pi community, means that support and resources are always readily available. From learning programming from the ground up to serving as a dedicated IoT gateway, the Raspberry Pi is a truly versatile and affordable computing solution for everyone.
The Power of Virtual Private Clouds (VPC) for IoT
As IoT deployments grow in complexity and scale, managing the security, connectivity, and data flow of numerous devices becomes a significant challenge. This is where a Virtual Private Cloud (VPC) becomes indispensable. A VPC is essentially a private, isolated section of a public cloud (like AWS, Azure, or Google Cloud) where you can launch resources in a virtual network that you define. Think of it as your own secure, customizable data center within the vast public cloud infrastructure.
Why VPC for IoT? Security, Scalability, and Control
For IoT applications, the benefits of a VPC are profound and directly address critical concerns:
- Enhanced Security: In a VPC, you have complete control over your network environment. You can define custom IP address ranges, create subnets, configure network access control lists (NACLs), and set up security groups to strictly control inbound and outbound traffic. This isolation prevents unauthorized access to your IoT devices and data, significantly reducing the attack surface compared to deploying devices directly onto the public internet. For YMYL applications, where data integrity and privacy are paramount (e.g., healthcare IoT, financial services IoT), this level of security is non-negotiable.
- Scalability: A VPC allows you to seamlessly scale your IoT infrastructure. As your number of Raspberry Pi devices grows, you can easily provision new resources, expand your network, and integrate additional cloud services (like IoT platforms, databases, analytics tools) within the same secure environment. This flexibility ensures your infrastructure can adapt without requiring a complete overhaul.
- Granular Control: You dictate the network topology, routing, and security policies within your VPC. This level of control is crucial for optimizing performance, managing costs, and ensuring compliance with specific regulatory requirements. You can segment your network to isolate different types of IoT devices or applications, further enhancing security and manageability.
- Hybrid Cloud Capabilities: VPCs facilitate hybrid cloud architectures, allowing you to securely connect your on-premises Raspberry Pi devices and data centers to your cloud resources. This is particularly useful for edge computing scenarios where some processing happens locally on the Raspberry Pi, while aggregated data is sent to the cloud for further analysis and storage.
Key VPC Components: Subnets, Route Tables, and Gateways
To effectively utilize a VPC for your Raspberry Pi IoT project, understanding its core components is essential:
- Subnets: A VPC is divided into one or more subnets, which are ranges of IP addresses within your VPC. Subnets can be public (with internet access) or private (without direct internet access, often used for sensitive data or internal services). For IoT devices, you might place them in private subnets for enhanced security, routing their internet access through a controlled gateway.
- Route Tables: Each subnet must be associated with a route table, which contains a set of rules (routes) that determine where network traffic from the subnet is directed. This allows you to control how your Raspberry Pi devices communicate with other devices within the VPC, other VPCs, or the internet.
- Internet Gateway (IGW): An IGW is a horizontally scaled, redundant, and highly available VPC component that allows communication between instances in your VPC and the internet. If your Raspberry Pi devices need to send data to public cloud services or receive commands from the internet, they will need to route traffic through an IGW.
- NAT Gateway/Instance: For private subnets, a NAT (Network Address Translation) gateway or instance allows instances in a private subnet to connect to the internet or other AWS services, but prevents the internet from initiating a connection with those instances. This is a common pattern for IoT devices that need to push data out but should not be directly accessible from the internet.
- Security Groups and Network ACLs (NACLs): These act as virtual firewalls. Security groups operate at the instance level, controlling traffic to and from individual Raspberry Pi devices. NACLs operate at the subnet level, providing an additional layer of security by filtering traffic in and out of subnets.
Why Combine Raspberry Pi with VPC for IoT?
The synergy between Raspberry Pi and VPCs creates a compelling proposition for IoT development. This combination addresses several key challenges and opportunities in the IoT landscape:
- Cost-Effectiveness at Scale: The Raspberry Pi is inherently a very cheap computer. When deploying hundreds or thousands of IoT devices, the cost savings are substantial. Combining this with a VPC allows you to leverage the pay-as-you-go model of cloud computing, optimizing operational costs while maintaining robust infrastructure.
- Edge Computing Capabilities: Raspberry Pi's small form factor and low power consumption make it ideal for edge computing. You can deploy Raspberry Pi devices close to the data source (e.g., sensors in a factory, cameras in a smart city) to perform local processing, filtering, and aggregation. The VPC then provides a secure conduit for transmitting only relevant, processed data to the cloud, reducing bandwidth costs and latency.
- Enhanced Data Privacy and Compliance: For sensitive applications, keeping data within a private, controlled network is critical. A Raspberry Pi VPC IoT tutorial emphasizes creating isolated environments where data from your devices is transmitted and processed securely, helping meet stringent data privacy regulations like GDPR or HIPAA.
- Flexibility and Customization: Unlike off-the-shelf IoT solutions, the Raspberry Pi offers immense flexibility for custom hardware and software integrations using its GPIO pins and Linux environment. The VPC provides the network flexibility to support these diverse custom setups, allowing for unique communication patterns and service integrations.
- Rapid Prototyping and Deployment: The ease of setting up a Raspberry Pi, coupled with the agility of cloud VPCs, enables rapid prototyping of IoT solutions. Developers can quickly iterate on designs, test connectivity, and deploy solutions, accelerating time-to-market for innovative products and services.
Essential Tools and Prerequisites for Your Raspberry Pi VPC IoT Project
Before diving into the practical steps of our Raspberry Pi VPC IoT tutorial, ensure you have the following tools and meet the necessary prerequisites:
Hardware:
- Raspberry Pi Board: Any modern Raspberry Pi model (e.g., Raspberry Pi 3B+, 4, Zero 2 W) will suffice. Consider your project's processing and connectivity needs.
- MicroSD Card: A high-quality 16GB or 32GB (Class 10 or higher) microSD card for the Raspberry Pi's operating system.
- Power Supply: The official Raspberry Pi power supply is recommended for stable operation.
- Ethernet Cable (Optional but Recommended): For initial setup and more reliable network connectivity.
- Keyboard, Mouse, Monitor (for initial setup): If you plan to set up your Raspberry Pi directly. Alternatively, you can use a headless setup via SSH.
- IoT Sensors/Actuators (Optional): Depending on your specific IoT project, e.g., temperature sensors, relays, cameras.
Software & Accounts:
- Raspberry Pi Imager: This is the quick and easy way to install Raspberry Pi OS and other operating systems to your microSD card. Download it from the official Raspberry Pi website.
- Raspberry Pi OS: The official supported operating system for your Raspberry Pi. Download the "Lite" version for headless IoT applications to save resources.
- SSH Client: If performing a headless setup (e.g., PuTTY for Windows, built-in terminal for Linux/macOS).
- Cloud Provider Account: An active account with a major cloud provider (e.g., AWS, Azure, Google Cloud). This tutorial will use general VPC concepts applicable to all, but specific console steps might vary.
- Basic Linux Command Line Knowledge: Familiarity with navigating the Linux file system, installing packages, and editing configuration files is essential.
- Basic Networking Concepts: Understanding IP addresses, subnets, gateways, and firewalls will be very helpful.
Step-by-Step Raspberry Pi VPC IoT Tutorial: Setting Up Your Cloud Environment
This section provides a high-level guide to setting up your VPC environment. Specific steps will vary slightly depending on your chosen cloud provider (AWS, Azure, GCP), but the underlying principles remain the same.
Configuring Your VPC: A Practical Walkthrough
The first step in our Raspberry Pi VPC IoT tutorial is to establish the secure network in the cloud.
- Create Your VPC:
- Log in to your chosen cloud provider's management console.
- Navigate to the VPC service.
- Create a new VPC. You'll need to define a CIDR block (e.g., `10.0.0.0/16`). This is the private IP address range for your entire VPC.
- Create Subnets:
- Within your new VPC, create at least two subnets:
- Public Subnet: For resources that need direct internet access (e.g., a NAT Gateway, a bastion host for SSH). Assign it a CIDR block (e.g., `10.0.1.0/24`).
- Private Subnet: Where your Raspberry Pi IoT devices will reside for enhanced security. Assign it a different CIDR block (e.g., `10.0.2.0/24`).
- Within your new VPC, create at least two subnets:
- Attach an Internet Gateway (IGW):
- Create an Internet Gateway and attach it to your VPC. This allows resources in public subnets to communicate with the internet.
- Configure Route Tables:
- Public Route Table: Create a route table and associate it with your public subnet. Add a default route (`0.0.0.0/0`) pointing to the Internet Gateway.
- Private Route Table: Create a route table and associate it with your private subnet. This route table will initially not have a direct internet route.
- Set up NAT Gateway (for Private Subnet Internet Access):
- In your public subnet, create a NAT Gateway. This will allow your Raspberry Pi devices in the private subnet to initiate outbound connections to the internet (e.g., to connect to cloud IoT services or fetch updates) without being directly exposed.
- Update your private subnet's route table to include a default route (`0.0.0.0/0`) pointing to the NAT Gateway.
- Configure Security Groups:
- Create a security group for your Raspberry Pi devices. Initially, allow outbound traffic to necessary IoT endpoints (e.g., MQTT brokers, cloud IoT platform endpoints). For inbound, restrict access to only what's absolutely necessary (e.g., SSH from a bastion host in the public subnet, or specific ports for device management).
Establishing Secure Connectivity: VPN or Direct Connect
To securely connect your physical Raspberry Pi devices to your cloud VPC, you have several options:
- Site-to-Site VPN: This is a common and cost-effective method. You'll set up a VPN connection between your on-premises network (where your Raspberry Pi is located) and your VPC. This involves configuring a Customer Gateway (representing your on-premises VPN device/router) and a Virtual Private Gateway (on the VPC side). Once established, your Raspberry Pi devices can communicate with resources in your VPC as if they were on the same private network.
- Client VPN: For individual Raspberry Pi devices that might be in different locations, a Client VPN endpoint in your VPC allows each device to establish a secure TLS VPN connection. This is highly flexible for distributed IoT deployments.
- AWS Direct Connect / Azure ExpressRoute / Google Cloud Interconnect: For high-bandwidth, low-latency, and dedicated connections, these services provide a direct network connection from your premises to your cloud provider. While more expensive, they offer superior performance and reliability, crucial for mission-critical IoT applications.
For most initial Raspberry Pi VPC IoT tutorial setups, a Site-to-Site VPN or Client VPN will be sufficient and more practical.
Deploying Your Raspberry Pi as an IoT Device in the VPC
Once your VPC and secure connectivity are established, the next phase involves preparing and deploying your Raspberry Pi devices.
- Install Raspberry Pi OS:
- Using Raspberry Pi Imager, write the Raspberry Pi OS (Lite version recommended) to your microSD card.
- For headless setup, enable SSH by creating an empty file named `ssh` in the boot partition of the SD card.
- Configure Wi-Fi by creating a `wpa_supplicant.conf` file in the boot partition with your network credentials.
- Initial Raspberry Pi Configuration:
- Boot your Raspberry Pi. Connect via SSH using its local IP address.
- Run `sudo raspi-config` to change the default password, set your locale, and expand the filesystem.
- Update your system: `sudo apt update && sudo apt upgrade -y`.
- Install VPN Client (if using Client VPN):
- Install the necessary VPN client software on your Raspberry Pi (e.g., OpenVPN client).
- Configure the client with the connection details provided by your cloud provider's Client VPN endpoint.
- Ensure the VPN connection starts automatically on boot.
- Install IoT Device SDK/Libraries:
- Depending on your cloud IoT platform (AWS IoT Core, Azure IoT Hub, Google Cloud IoT Core), install the relevant device SDKs or libraries (e.g., Python Boto3 for AWS IoT, Azure IoT SDK for Python).
- These SDKs will handle secure authentication (e.g., X.509 certificates, MQTT over TLS) and communication with the cloud IoT platform.
- Implement Your IoT Application:
- Write your custom Python, Node.js, or C++ application that interacts with your sensors/actuators via GPIO.
- This application will use the installed SDKs to send data securely to your cloud IoT platform and receive commands.
- Ensure your application is configured to start automatically on boot (e.g., using systemd services).
- Security Hardening:
- Disable unnecessary services.
- Implement strong password policies or use SSH keys for access.
- Regularly apply security updates.
- Monitor logs for suspicious activity.
Real-World Applications and Use Cases for Raspberry Pi VPC IoT
The combination of Raspberry Pi's versatility and a VPC's security and scalability opens up a myriad of real-world applications. This Raspberry Pi VPC IoT tutorial framework can be applied to diverse sectors:
- Smart Home Automation with Enhanced Privacy: Instead of relying on third-party cloud services that might compromise privacy, you can host your smart home hub on a Raspberry Pi within your own VPC. This allows you to securely control lights, thermostats, and security cameras, keeping sensitive data within your private cloud environment.
- Industrial IoT (IIoT) Monitoring: Deploy Raspberry Pis as edge gateways in factories to collect data from machinery sensors (temperature, vibration, pressure). The Pis can perform local data aggregation and anomaly detection, then securely transmit critical insights to a central dashboard in the VPC for real-time monitoring and predictive maintenance.
- Environmental Monitoring and Agriculture: Raspberry Pis equipped with environmental sensors can be deployed in remote locations (e.g., farms, forests) to monitor soil moisture, air quality, or weather patterns. Data is securely transmitted over VPN to a VPC, where it can be analyzed to optimize crop yields or track environmental changes.
- Remote Asset Tracking and Management: For logistics or fleet management, Raspberry Pis can act as GPS trackers and data loggers on vehicles or containers. Data on location, speed, and environmental conditions is sent to the VPC, enabling real-time tracking, route optimization, and preventative maintenance.
- Smart City Infrastructure: Raspberry Pis can be used in smart city projects for traffic monitoring, waste management, or public safety. For example, they can process video feeds locally to detect traffic congestion or overflowing bins, sending only summarized data to a secure VPC for city-wide analysis and resource allocation.
Best Practices for Secure and Scalable Raspberry Pi VPC IoT Deployments
To ensure your Raspberry Pi VPC IoT solution is robust, secure, and ready for future growth, adhere to these best practices:
- Principle of Least Privilege: Grant only the necessary permissions to your IoT devices and cloud resources. For instance, your Raspberry Pi should only have permissions to publish data to specific MQTT topics, not to modify core cloud infrastructure.
- Regular Software Updates: Keep your Raspberry Pi OS, installed libraries, and IoT application code updated. This is crucial for patching security vulnerabilities. Automate updates where possible, but test thoroughly.
- Robust Authentication and Authorization: Use strong, certificate-based authentication for your Raspberry Pi devices connecting to the cloud IoT platform. Implement granular authorization policies to control what each device can do.
- Network Segmentation: Utilize subnets and security groups within your VPC to segment your network. Isolate IoT devices from other critical infrastructure components. For example, keep device management services in a separate subnet with strict access controls.
- Monitoring and Logging: Implement comprehensive monitoring for both your Raspberry Pi devices (CPU usage, memory, network activity) and your VPC (network flow logs, security group activity). Centralize logs in your cloud environment for easier analysis and anomaly detection.
- Disaster Recovery and Backup: Plan for potential failures. Have a strategy for backing up your Raspberry Pi configurations and application code. Consider using cloud-native services for data storage and replication to ensure high availability.
- Scalability Planning: Design your solution with scalability in mind. Use auto-scaling groups for backend services in your VPC, and ensure your IoT device management platform can handle a growing number of connected Raspberry Pis.
- Edge Intelligence: Leverage the Raspberry Pi's processing power for edge computing. Perform data pre-processing, filtering, and simple analytics on the device itself to reduce data transmission costs and latency, sending only valuable insights to the cloud.
By diligently following these best practices, you can build a highly secure, efficient, and scalable Raspberry Pi VPC IoT tutorial solution that stands the test of time and evolving threats.
Conclusion
The journey through this Raspberry Pi VPC IoT tutorial has highlighted the immense potential unlocked when the versatile, cost-effective Raspberry Pi is combined with the secure, scalable architecture of a Virtual Private Cloud. We've explored how this powerful duo provides an unparalleled foundation for building robust IoT solutions, from ensuring stringent security and granular control to enabling efficient edge computing and seamless scalability. Whether you're a classroom coder, a kitchen table tinkerer, or part of an industrial team, the accessibility and power of Raspberry Pi, coupled with the security of a VPC, make advanced IoT deployments within reach for everyone.
The global Raspberry Pi community is a testament to its widespread adoption, and by leveraging a VPC, you're not just connecting devices; you're building a secure, private network for your innovations. We encourage you to take these insights and begin experimenting with your own Raspberry Pi VPC IoT projects. Share your experiences in the comments below, or explore other related articles on our site to further your knowledge in this exciting field. The future of connected devices is secure, scalable, and within your grasp!
Related Resources:


Detail Author:
- Name : Allene Ziemann
- Username : tremaine89
- Email : julianne71@hotmail.com
- Birthdate : 1987-10-22
- Address : 671 Monahan Pines East Zula, WA 62033-0311
- Phone : 541-900-4420
- Company : Mohr Group
- Job : Semiconductor Processor
- Bio : Non voluptas aperiam consequatur aperiam. Fugiat at qui et nulla vero iste. Amet dolores facilis tempora sint commodi laudantium.
Socials
linkedin:
- url : https://linkedin.com/in/osinskib
- username : osinskib
- bio : Libero quasi quibusdam ut.
- followers : 4797
- following : 1828
facebook:
- url : https://facebook.com/osinskib
- username : osinskib
- bio : Rerum saepe ipsum quasi quo. Voluptas cupiditate deserunt corrupti esse odit.
- followers : 5426
- following : 1129
tiktok:
- url : https://tiktok.com/@boris_xx
- username : boris_xx
- bio : Ipsum autem aut deserunt iste. Et quibusdam est nam.
- followers : 3871
- following : 516
twitter:
- url : https://twitter.com/boris831
- username : boris831
- bio : Earum reiciendis architecto et cum similique tenetur officiis. Ipsa omnis reiciendis voluptas ad dolorem qui aliquid. Dolores animi velit illo corporis.
- followers : 4675
- following : 2864
